Pages

August 29, 2011

Another Year Older

It was my birthday a few days ago. I came home from work to this. 


My favorite cupcakes. Red velvet and chocolate with vanilla frosting. yum. 

AAAAND THIS!!!!!


My hubby is the best!!!

 What? Every girl doesn't want a miter saw for her birthday? Not even a double-bevel sliding one?!

 I may or may not have dropped a couple of hints. The wheels are already turning for my next project if we ever after we finish the kitchen.

Jon even made sure to tell me he got it on sale for about 30% off, which makes it even better!

I do love me a good deal. He knows me so well :) 


August 25, 2011

Building and Installing Cabinet Boxes

We decided to build our own cabinets. And by "We", I mean my brother, Phu. Jon and I just drilled holes and put in screws where he told us to. Really, it was our only option given our budget. On the plus side, it allowed us to design the layout and storage space that would work most efficiently for us. First off, we had to build and install all of the cabinet boxes.

1. We purchased cabinet grade plywood from Home Depot and cut it to length using a table saw.


2. We drilled pocket screws into each of the side pieces using a Kreg Jig. The Kreg Jig is so cool. I told Jon I want my own (we were using Phu's). There are so many things I could do with a Kreg Jig!


3. We attached all the sides to each other and to the back of the cabinet box using Kreg screws.


4. We mounted the cabinets and screwed them into the wall studs. We shimmed and ensured everything was level before attaching them to the wall. The boxes are heavy. To make mounting the uppers a little easier, we first attached a ledger board into the wall stud at exactly the height where the bottom of the cabinet should be. Basically it's just a scrap 2x4 piece (you can see it underneath the cabinet box in the pic below right in between Jon and Phu) where we could place the cabinet while we attached it to the wall. It was much easier than having one person try to hold up the entire weight of the cabinet while the other person put in the screws.


5. Plywood isn't pretty. We purchased Poplar wood and cut trim pieces to attach to the edge of the boxes using a nail gun.


6. Our cuts for the trim pieces weren't always accurate so we used a router to clean them up so they are flush with the cabinet box. You can also use 60 grit sandpaper too but the router is much faster if you have a steady hand. It is extremely loud and messy. It shoots saw dust everywhere and right back in your face, which is why Phu is wearing a respirator.


7. We covered up the pocket holes using Kreg Jig plugs and wood glue.

Product

Put a little bit of wood glue on the end of the plug and push it into the pocket hole.

Saw off the excess wood using a flexible saw.

Sand it using 60 grit to smooth out any rough edges. Prime and paint and you'll never notice it.


After the boxes were installed, we went through and filled in any gaps, knots, gouges, or dents that would be visible with wood filler. Then we sanded for about two weeks. It's a tedious process, even with an electric sander. We first used 60 grit sandpaper to even out any big bumps, then moved up to 120 grit to smooth all the surfaces for primer.

I'm apologizing ahead of time because my posts are going to be out of order. We put up sheet rock first before building and installing the cabinet boxes. I want to share what worked and didn't work for us in that process BUT those pics are on our memory card in the camera that we still can't find. The search continues.

August 16, 2011

Proof Of Progress

We still haven't found our camera but here's a picture I found on my computer that I must have uploaded a couple of weeks ago.


What we started with:


Where we are now:


We re-wired all the electrical outlets, got some sheet rock up, built and installed most of the cabinet boxes, and sanded all the boxes to prep them for primer.

See that big box across from the island? That's our new pantry. It's sa-weeeet! Two people can fit in there. I bet three people could but we only tried two.

The Fun Stuff

At a party this past weekend, friends kept saying "I've been reading your blog..." (of course I was thrilled they kept up with the blog) and in the same breath out comes "but I haven't seen any updates in awhile." Alright, I get it. Subtle hints to my slacker-ness.

I thought about updating the blog when I got home that night but I didn't. In my defense, we've lost our camera with the latest renovation pics. It's somewhere in the house. Not all that surprising considering the chaos we've been living in.

And then today, I get this on gchat.

Lisa:  i need more blog
me:  huh? need more blog?
Lisa:  i need you to blog. i have checked at least 4 times

Ok. A not so subtle hint about my slacking.

This one's for you, Lisa.

Until I can find my camera with the latest pics, I thought I'd share the fun stuff (i.e. not the sweaty, cursing, whining parts of the renovation).

When we started designing our kitchen renovation, we focused more on the functionality of it. Most importantly, we needed more efficient storage solutions and a counter top that could handle our everyday use and resist stains. We had settled on pouring our own concrete counter tops because my brother wanted to give them a try. So the counters became the focal point of my inspiration for the aesthetic design of the kitchen.

I am going to say "I" throughout this post because generally that's how Jon and I work when it comes to design/decor. I come up with something I like and then I just run it by him to see if he's cool with it. Usually, he likes it but he definitely doesn't hold back if he doesn't like it. Don't let him fool you into thinking that I don't give him a chance to put in his two cents. Of course, if I really like it and he doesn't, I have veto power over him. We work hard at keeping our marriage 60/40.

I wanted to keep the cabinet color white to reflect the little natural light that we have coming into the kitchen by way of the small window above the sink and the door to the patio.

Next, the back splash. This was my first choice. It's from Lowe's. I really like that it picked up the color of the cabinets in the marble pieces, the counter tops in the dark gray pieces, and a subtle hint of color in the light blue pieces. By the way, that's a sample of our concrete counter tops that my brother, Phu, poured. The counters will look darker than that because we will polish, wax, and seal them. That sample is just straight up concrete.


I'm a very visual person. I was dead set on this back splash for about a month. Then I saw this picture on Houzz.com. It's a similar back splash in that it has long narrow pieces of various types of stone and color. After seeing this picture I was worried my first choice would be too busy because of the pattern and the fact that our kitchen is not as open and airy as this kitchen.

Palos Park Kitchen Renovation modern kitchen

Back to the drawing board. I considered white subway tile but thought that might be too plain. I searched online and in magazines for inspiration. I kept going back to white marble. It's gorgeous. One day, I hope to have a beautiful slab of carrera marble somewhere in my house. It's not as plain as subway tile because it has gray veining throughout which would pick up the color of our concrete counters a bit. A slab of marble for a back splash is definitely way out of our budget.

So I went back to Lowe's. I kept going back to Lowe's because I have coupons to use there. I also found that Lowe's has a much bigger selection of tile than Home Depot but mostly it was all about the coupons. Lowe's came through! I found this awesome marble mosaic back splash for a price that's easier on our budget.


I love the stark contrast of the white against the dark gray concrete but there is still some interest to the tile due to the light gray veining throughout. Don't mind that green spot on the tile. It's just a reflection of the green tank top I was wearing when I took the picture.

We had already purchased stainless steel cup pulls and knobs for the hardware. We found a really good deal on them online so we just went with it. All of our appliances are stainless steel, as well as our sink, so we figured it'd look fine.

One day I was checking out photos of kitchens on Houzz and I came across this one. I loved it instantly and then realized THAT is our kitchen. Well, kind of. It's really similar. The white cabinets, the gray concrete counters, the cup pulls for the drawers, and the white back splash (minus the sparkles).

 
Mill Valley contemporary kitchen

Like I said, I'm a very visual person. I had all the fragmented pieces of our kitchen design in my head but I couldn't picture how it would all look together. This image did it for me. It is how I want our kitchen to be. It's very calming and neutral. It also gave me some inspiration for stools for our island. I like how the wood from the stools adds some warmth and the overall industrial feel of the kitchen. So with this inspiration in my head, we've decided on three of these stools and two of these pendant lights to hang over our island.

 Twist Swivel Stool | World Market
image: World Market

MERIDIAN PENDANT LAMP
image: Sundance


And that is our kitchen design to date. Or at least we hope. Shoot, anything better than what it looks like now is a step in the right direction.


July 14, 2011

Demolition Time

Demo is as fun as it looks....on the first day....on the fourth day, not so much.

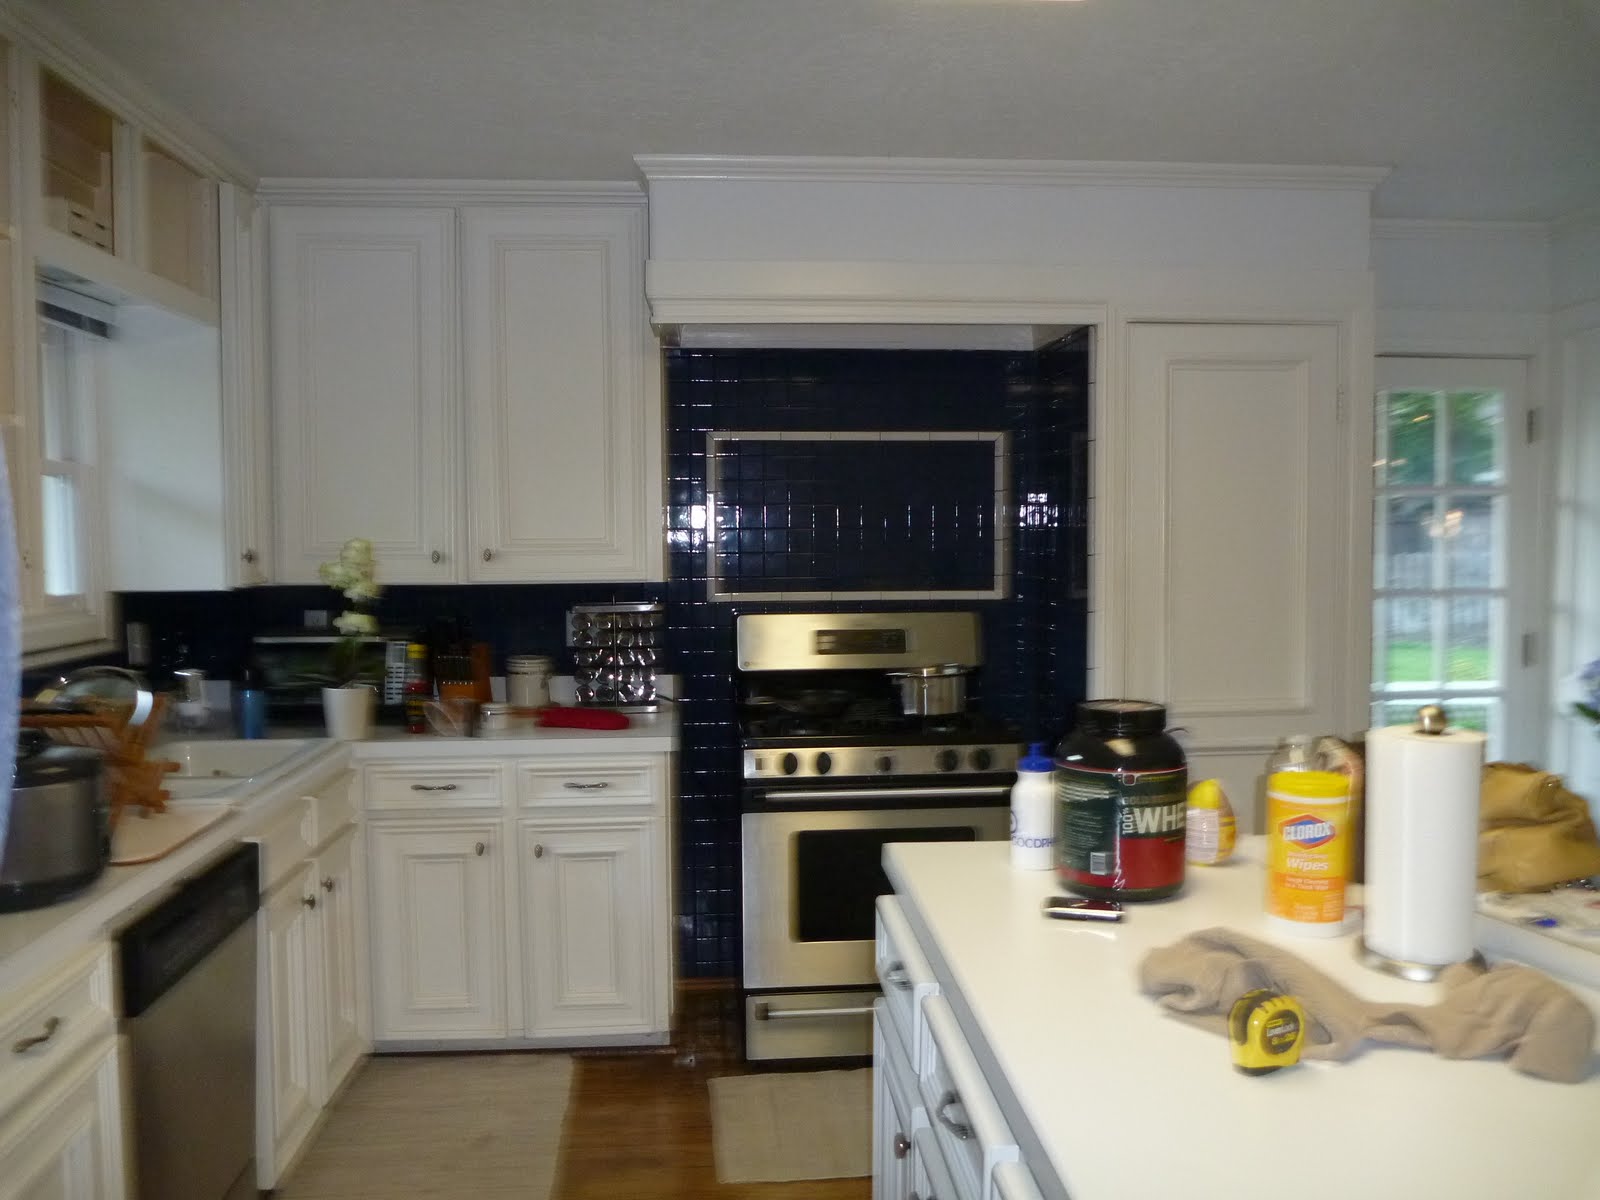
A little reminder of our before


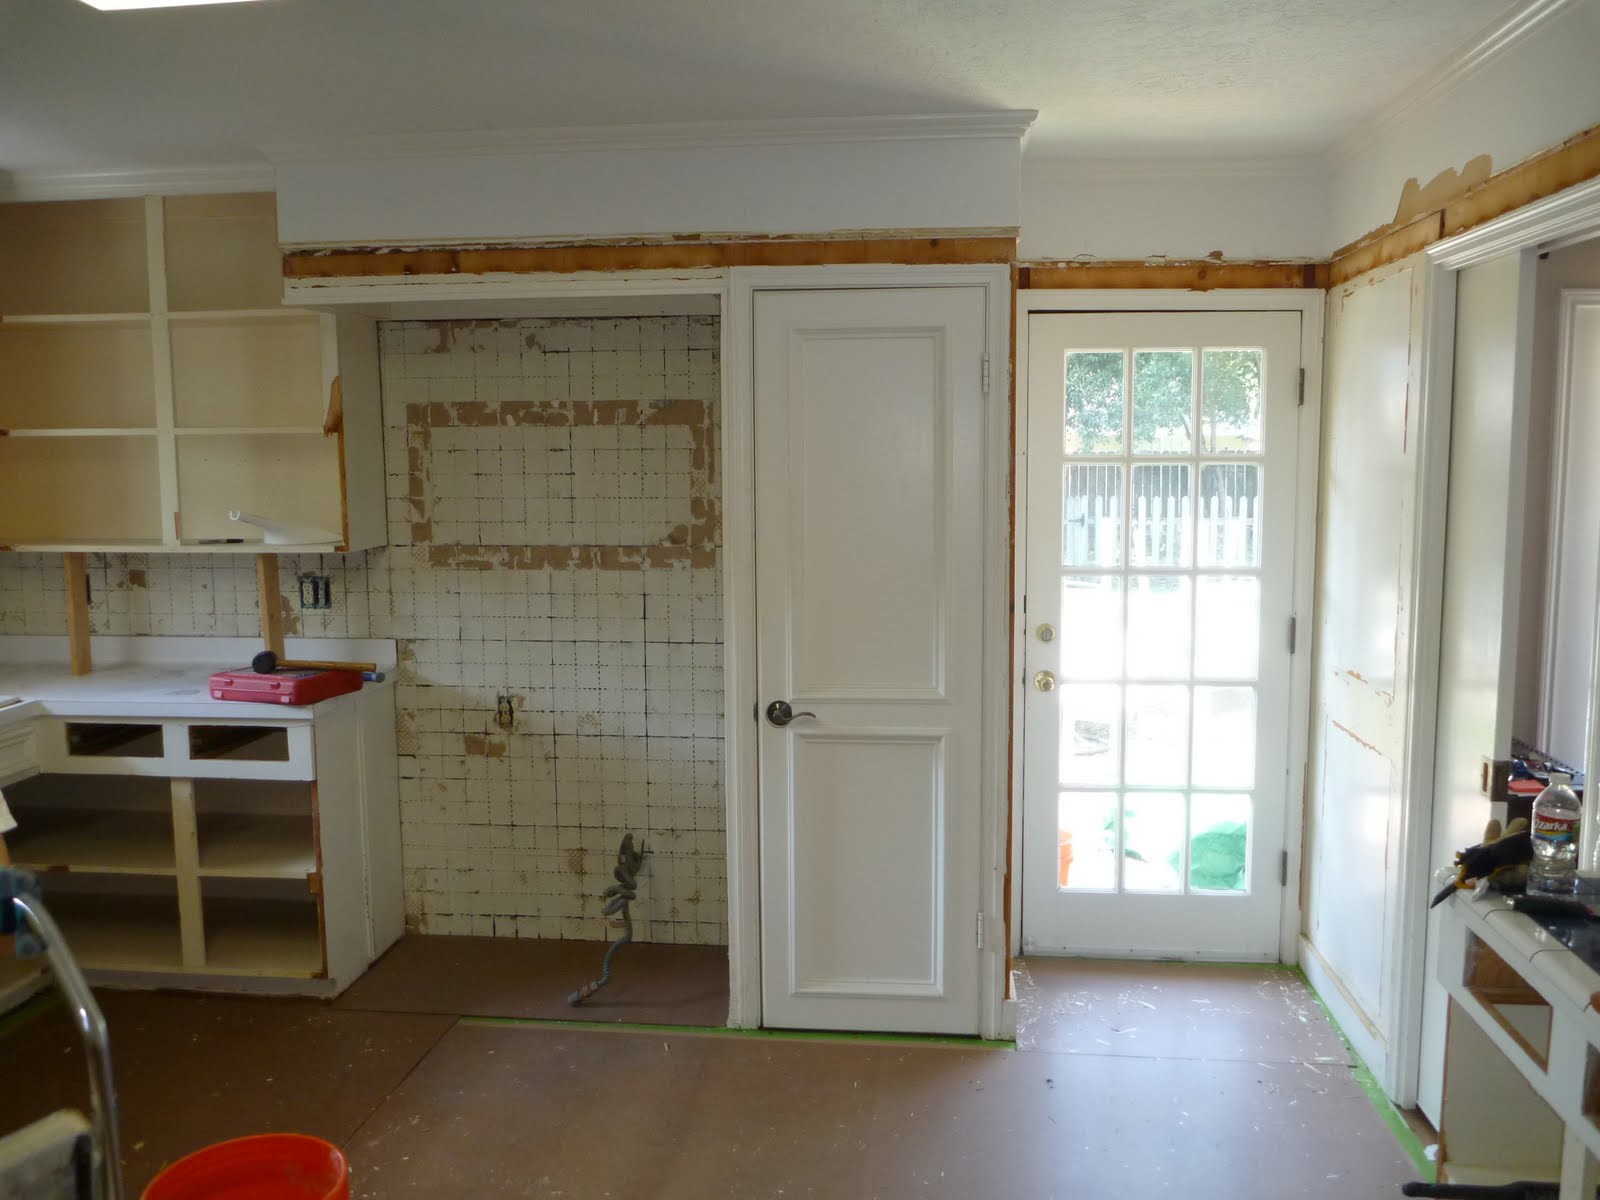
And in progress.


Oh and we demolished the island too. We're going to build it back up again but with better storage underneath so half my body isn't in there trying to get a pot.


And we have big plans for this wall that connects to our den that I forgot to tell you about in our renovation plans. *I'm really annoyed right now because the hyperlink thing isn't working in Blogger so I can't easily get you back to the post about our plans or any other post for that matter. Doesn't Blogger know this is my first time blogging and I'm trying to do my best to make it easy for my reader(s) to follow my ramblings?!* 

We want to take out the pocket door, remove that column that now splits the door and the pass through window, bump up the header, and bump out the window to the right. So we're keeping the lower cabinets for storage and it will look more like a peninsula. If I knew how to do all that fancy stuff with arrows on pictures to show you what I mean, I would. But I don't. So you're stuck with my crappy description and your imagination. 


There must have been a sale on nails (along with the ugly molding) when our kitchen was last remodeled. Is it really necessary to use so many nails to secure a small 10 inch piece of trim on the cabinet? It made demolishing a sloooow process since we were trying to salvage as much of the cabinet boxes as we could. We were shaking our fists in the air and cursing the previous carpenter/owner, who we dubbed, Bob. Because it's so much more gratifying to yell at someone with a name. 


And then good 'ole Bob got us again. We were prying out the shelves in the cabinets and the hammer went right through the back....which was just sheetrock. Awesome. Norm, the Master Carpenter, would be so disappointed in Bob.

Bob (a couple of decades ago in the local hardware store):

Hmmm, if I don't buy wood to back the cabinet uppers and lowers, I can use the money saved to buy a ton of molding and paneling to cover every square inch of the kitchen walls and one billion nails on sale! I'll just paint the sheetrock to match the cabinets and nail the shelves right into the studs of the walls. Genius Bob, genius (while patting himself on the back).


So there were no cabinet boxes to salvage and we just went crazy ripping everything out. We stopped at the base of the bottom cabinets and figured we could just build up from the bases already in place.


Until we realized that the floor underneath the cabinet bases was just particle board that disintegrated to the touch. Thanks again, Bob!


So we tore up all the bases and particle board and replaced the floor underneath.


And since we were in a Bob-cursing-demolishing-mood, nothing was safe. Not even our pantry....


Buh-bye pantry. We'll move you over by the fridge and make you even bigger and better in the next life.


Remember this molding and paneling that we hoped was attached to some salvageable sheetrock? Well by now you kind of have an idea of how Bob works. There was nothing behind it. The wall was just a very thin piece of flimsy wood nailed directly into the studs.


So we tore everything off.


And after all that, here's what we're left with. We're about 95% done with demo. I say 95% because the wall with the pass through window will be the last to go since it's currently keeping all the dust and chaos out of our livable space. We quickly built up the base of the island so we'd have a work station.


Miraculously, we only had one minor injury that involved blood. My brother's leg was cut from a flying piece of porcelain tile.


On the up side, we did find a dollar in the walls.


Lessons learned:
  1. Be flexible in your plan because if you're as lucky us, you might have had someone as cool as Bob who built your kitchen in the past. There will definitely be surprises.
  2. Wear a mask when removing back splash tile with black grout or else you'll end up with black boogers. So I guess that's digging for coal instead of gold. Trust me, gold is much better.
  3. Demo is exhausting. Our bodies and especially our hands were incredibly sore after a long day of demo. They always make demo look so easy on the crashing shows on the DIY network. I guess it's because the home owners do it for like 10 minutes and then a team of 25 comes in to finish it off. If you're DIYing, make sure you have some able bodied friends that you can trick ask to come over to help. 

July 12, 2011

Why Yes, That Is An Ant

Recall my massacre with Raid a couple of days ago?

Well, the termite guy came today and told us we DO NOT have termites!

They were just flying ants.

I didn't know ants could fly.

Roaches, yes.

Ants?

Ugh. Just another bug that could potentially fly at me and attack.

Great.

July 10, 2011

Prepping For Demo

We had to do some preparation before we could start swinging hammers at things. 

First, we removed the appliances with the help of our friend Paco. We have a gas stove so we shut off the gas line at the back of the stove which was as easy as a quarter turn of a handle. Then we just disconnected the gas flexible gas line to the stove and wheeled it out to the garage. 

The refrigerator was supposed to be easy. Just unplug it, turn off the valve underneath the sink to disconnect the water line to the fridge for the ice maker, and roll it into the dining room to plug it back in. 

Jon turned the valve underneath the sink (that little clear football looking thing below)....righty tighty lefty loosey.


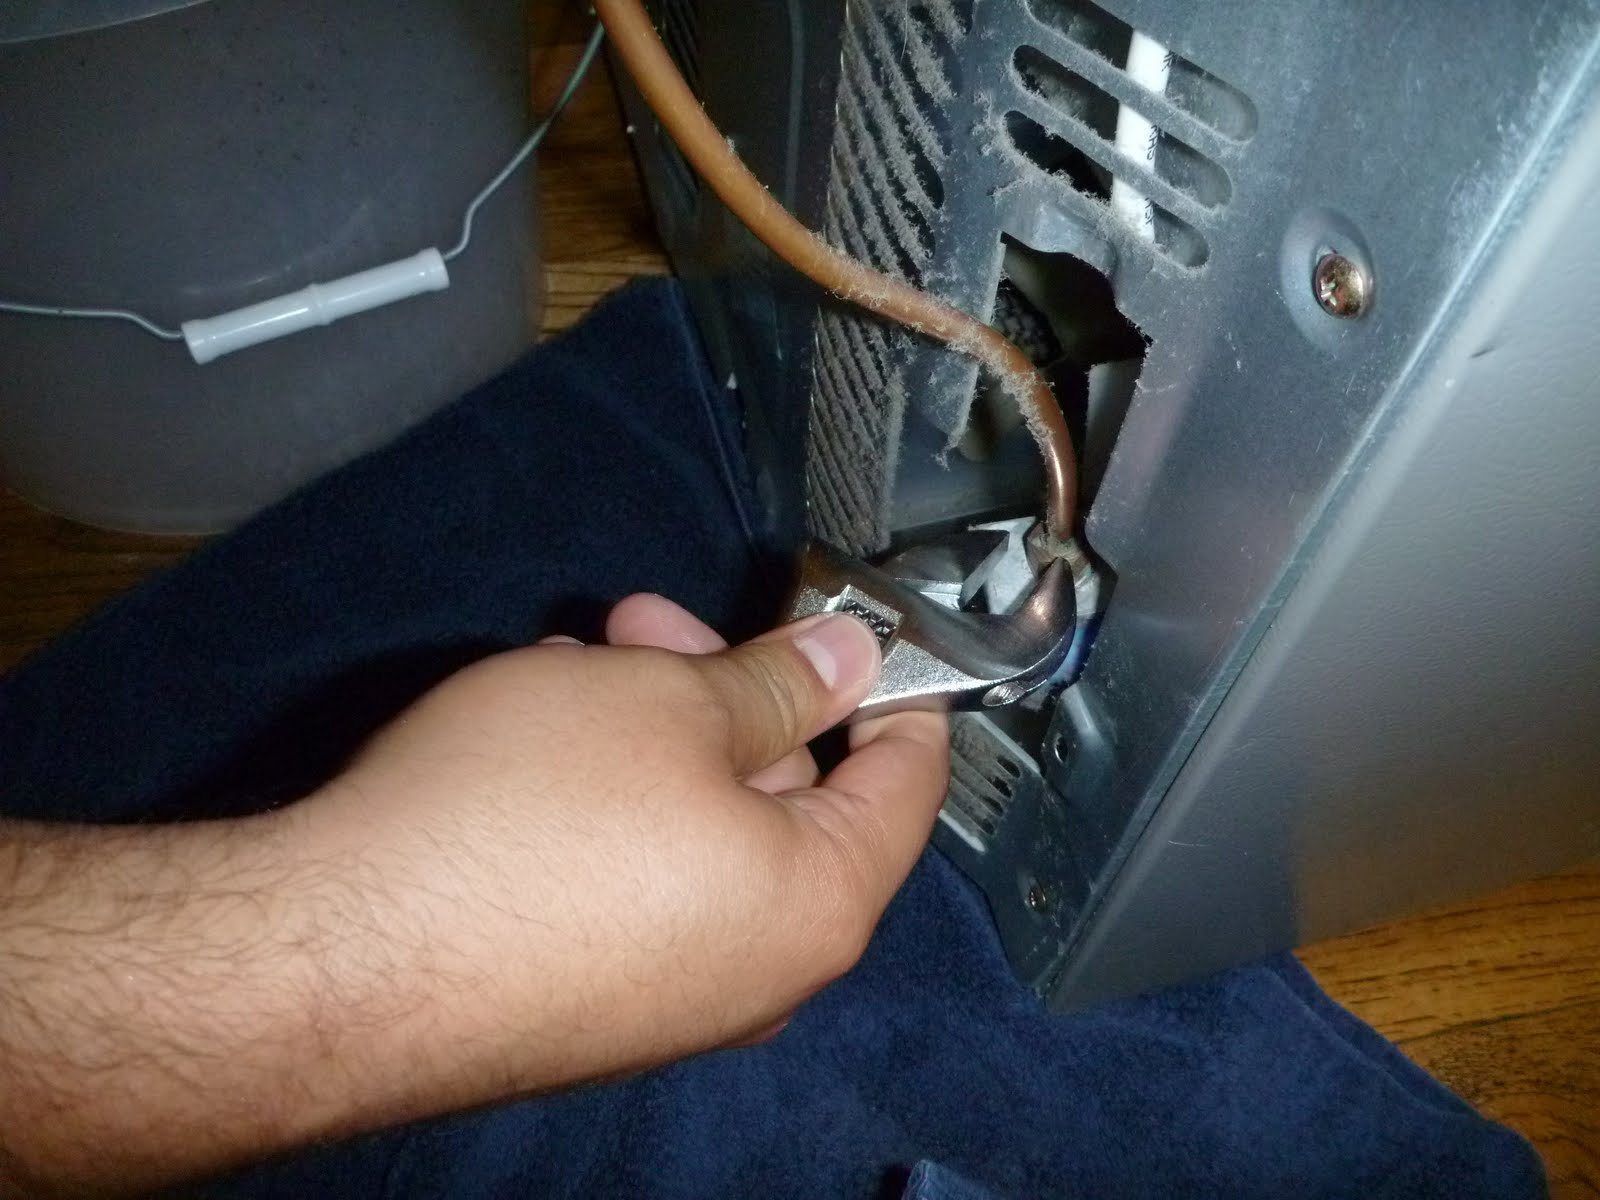
Disconnected the small copper water line from the back of the fridge.


And water rushed out and wouldn't stop! 

I'm in the back yard and Jon runs out past me like the roadrunner screaming "The water's not off!" trying to look for the shut off valve for the main water line to the house. 

I grab the closest thing I see, our 15 gallon crawfish boil pot, and run inside. By then Paco has already filled up a plastic bucket of water. He tells me Jon tried to turn the valve underneath the sink even more but the water was still coming out. I switch him out with the crawfish pot and he joins Jon in looking around outside the house for the main water shut off. 

I'm screaming at them that the crawfish pot is almost full. I go grab our igloo and switch to that. 


So after we fill up a plastic bucket, a crawfish pot, and part of an igloo, the water finally stops. I breathe a sigh of relief and ask where the main water line shut off was? 

Paco: I just turned the valve underneath the sink about five more times.

Jon: What the heck. I turned that thing about 15 times the first time.  

Lessons learned...
  1. Righty tighty means turn it to the right a billion times.
  2. Know where the main water shut off is ahead of time (just in case) so you're not running around outside of the house like a mad man. I'm sure the neighbors were staring and just shaking their heads.
Moving on after that mini fiasco.

We removed all the quarter round toe kicks going clockwise around the kitchen and numbered them to remember where they went. We plan on painting them white and re-using them.


Then we laid down builder's paper with painters tape and placed hardboard down to protect our hardwood floors during the renovation. 


We bought one roll of builder's paper and 5 sheets of 4' x 8' hardboard from Home Depot.  


Last but not least, we turned off the electricity and checked the outlets to ensure they weren't still hot. 


Safety first!